Do I Need An Exhaust Fan In Grow Tent? Important Considerations!
Key Takeaways
- Exhaust fans are essential for maintaining optimal temperature, humidity, and CO2 levels in grow tents, creating the perfect environment for plant growth.
- Proper ventilation prevents common plant problems like mold, mildew, and pest infestations that thrive in stagnant air conditions.
- When calculating exhaust fan size, use the CFM (Cubic Feet per Minute) formula based on your tent dimensions, then add 25% if using a carbon filter.
- Creating negative pressure within your grow tent is crucial for odor control and preventing unwanted smells from escaping into your home.
- While small setups with LED lights might function with minimal ventilation, most indoor growing operations require a quality exhaust system for long-term success.
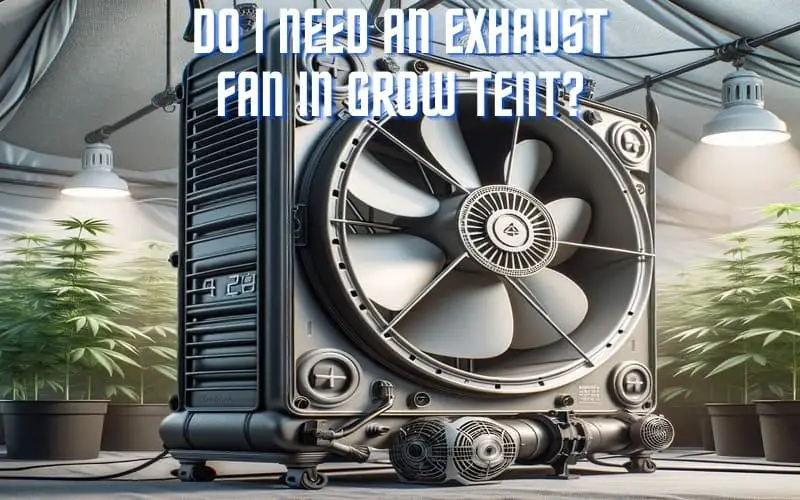
If your indoor plants are struggling despite perfect lighting and nutrition, poor airflow might be the silent culprit. Indoor grow tents create controlled environments that concentrate heat, humidity, and even plant odors—all factors that can quickly spiral out of control without proper ventilation. GrowAce, a leading provider of grow room equipment, recommends exhaust fans as essential components for any serious indoor gardening setup, helping to maintain the perfect growing environment for thriving plants.
Why Your Plants Might Be Struggling Without Proper Airflow
Plants in nature enjoy constant breezes that help strengthen stems, prevent mold, and provide fresh carbon dioxide. Inside a grow tent, this natural ventilation is absent. Without an exhaust system, temperatures can quickly soar beyond the comfort zone of most plants, especially with high-intensity lights generating significant heat. Humidity levels rise as plants transpire moisture that has nowhere to go, creating a breeding ground for fungal diseases. Even CO2, which plants consume during photosynthesis, becomes depleted in an enclosed space, essentially suffocating your garden.
Stagnant air doesn’t just affect plant health—it impacts your entire growing experience. The musty smell of an unventilated grow space can permeate your home, while excess moisture may damage tent materials and equipment over time. Many growers learn this lesson the hard way, investing in perfect lighting and nutrients only to wonder why their plants remain stunted or develop strange spots and discoloration.
Exhaust Fans: The Breathing System of Your Grow Tent

“Exhaust Fan Riga and Victorian …” from mulberrygreenhouses.com and used with no modifications.
Think of an exhaust fan as the lungs of your grow tent operation. Just as our lungs continuously cycle air to remove carbon dioxide and bring in fresh oxygen, your exhaust fan creates a constant airflow that maintains optimal growing conditions. Unlike basic oscillating fans that simply move existing air around, exhaust fans actively remove stale, hot, humid air and encourage fresh air intake from outside the tent.
What Exactly Does an Exhaust Fan Do?
An exhaust fan creates negative pressure within your grow tent by expelling air, which automatically draws fresh air in through intake ports or passive openings. This continuous air exchange serves multiple crucial functions: it regulates temperature by removing heat generated by grow lights, controls humidity by expelling moisture-laden air, replenishes CO2 that plants consume during photosynthesis, and can eliminate odors when paired with carbon filtration. The system works constantly, maintaining a dynamic environment that more closely mimics outdoor growing conditions while still providing the protection and control of indoor cultivation.
Most grow tent exhaust setups include ducting that directs the expelled air where you want it to go—typically outside your growing area or through a carbon filter to remove odors. Advanced systems might include speed controllers, allowing you to adjust airflow based on current conditions, and thermostats or humidity sensors that automate fan operation when certain thresholds are reached.
Signs Your Plants Are Suffering from Poor Ventilation
Plants have distinct ways of telling us they’re struggling with air quality issues. Leaf edges curling upward often indicate excessive heat, while drooping, wilted foliage despite adequate watering suggests humidity problems. Slowed growth despite adequate light and nutrients can signal CO2 depletion. White powdery mildew appearing on leaves is a classic symptom of poor air circulation and high humidity. If you notice condensation forming on tent walls or equipment, that’s a clear warning that moisture isn’t being properly evacuated.
Perhaps the most telling sign is when you open your tent and feel a blast of hot, humid air hitting your face. If it feels uncomfortable to you, it’s likely uncomfortable for your plants as well. Early detection of these symptoms allows you to address ventilation issues before they cause permanent damage to your crop.
The Difference Between Oscillating Fans and Exhaust Fans
Many new growers confuse internal air circulation with ventilation, but they serve different purposes. Oscillating fans move air within the grow space, creating a gentle breeze that strengthens stems and prevents hot spots, but they don’t remove air from the tent. These fans complement exhaust systems by ensuring even distribution of fresh incoming air and helping maintain consistent temperatures throughout the canopy.
Exhaust fans, by contrast, actually remove air from the grow space and create the negative pressure needed to draw in fresh air. While oscillating fans are helpful additions, they cannot replace proper exhaust ventilation. An ideal setup uses both: exhaust fans for air exchange and oscillating fans for internal circulation. This combination creates a dynamic environment where leaves gently dance in the breeze while stale air is continuously replaced with fresh input.
5 Critical Problems Exhaust Fans Solve
A quality exhaust system addresses five fundamental challenges that every indoor grower faces. Understanding these benefits helps clarify why proper ventilation is considered non-negotiable by experienced cultivators who have learned through trial and error just how crucial airflow is to consistent results.
1. Temperature Control for Optimal Growth
Most plants thrive in temperatures between 70-85°F (21-29°C), but grow lights—especially HID options like HPS and MH—generate significant heat that can quickly push your tent beyond this range. An exhaust fan continuously removes this hot air before it can accumulate and stress your plants. Temperature management becomes especially critical during summer months or in naturally warm climates where ambient temperatures already challenge your cooling capabilities. For more information on managing light and temperature, check out the difference between red and blue LED grow lights.
Without proper cooling, plants exhibit heat stress through upward-curling leaves, wilting despite adequate water, and eventually reduced yields or complete crop failure. Many growers have lost entire harvests simply because they underestimated their cooling needs or tried to save money by skipping proper ventilation.
2. Humidity Management to Prevent Mold and Mildew
Plants continuously release moisture through transpiration, creating a humidity feedback loop in enclosed spaces. Seedlings and vegetative plants generally prefer higher humidity levels (60-70%), while flowering plants typically need drier conditions (40-50%) to prevent mold issues. Exhaust fans help maintain these ideal ranges by removing moisture-laden air and bringing in fresh, drier air from outside the tent. For those interested in growing microgreens, understanding hydroponic red cabbage microgreens can be a great start.
High humidity is particularly dangerous during the flowering stage, when dense buds can trap moisture and develop botrytis (bud rot)—a devastating fungal infection that can ruin your harvest in days. Even if you don’t see visible mold, microscopic spores can develop within plant tissues, potentially causing health issues when consumed. Proper ventilation provides essential protection against these moisture-related problems. For those interested in exploring alternative growing methods, consider learning how to grow hydroponic collard greens indoors.
3. Fresh CO2 Supply for Photosynthesis
Carbon dioxide is the essential ingredient plants use to create energy through photosynthesis. In a sealed grow tent, plants quickly deplete available CO2, which significantly slows growth even with perfect light and nutrients. An exhaust system continuously refreshes this vital gas, ensuring your plants never face CO2 starvation that would otherwise limit their productive potential.
While some advanced growers supplement with CO2 enrichment systems, even these setups require proper air exchange to function correctly and maintain consistent CO2 levels. Without fresh air exchange, plants develop a distinctive slow, stunted growth pattern that persists despite other environmental factors being optimized.
4. Odor Control for Discrete Growing
Many plants—particularly herbs, vegetables, and flowering plants—produce strong aromas that can permeate your living space. A properly designed exhaust system directs this scented air through activated carbon filters that neutralize odors before they escape. This filtered ventilation allows you to maintain a discrete garden without broadcasting your horticultural activities to neighbors or household members.
Carbon filtration only works effectively when paired with an appropriately sized exhaust fan that creates sufficient negative pressure. The activated carbon needs adequate contact time with passing air to adsorb odor molecules, which means balancing airflow with filter capacity. This integration of filtration and ventilation represents one of the most significant advantages of a well-designed exhaust system.
5. Strengthening Plant Stems
In nature, plants develop strong stems partly in response to wind stress. This process, called thigmomorphogenesis, triggers plants to grow thicker, sturdier stems capable of supporting heavy fruits or flowers. The gentle air movement created by your ventilation system mimics this natural strengthening mechanism, resulting in more robust plants less likely to require staking or support structures. For more on growing robust plants, explore our guide on growing hydroponic collard greens indoors.
Strong stems also improve nutrient transport throughout the plant, enhancing overall health and productivity. Many growers notice the difference between plants grown with proper air movement and those in stagnant conditions—the former standing tall with thick stems while the latter often grow lanky and require external support.
When You Can Skip the Exhaust Fan (And When You Absolutely Can’t)
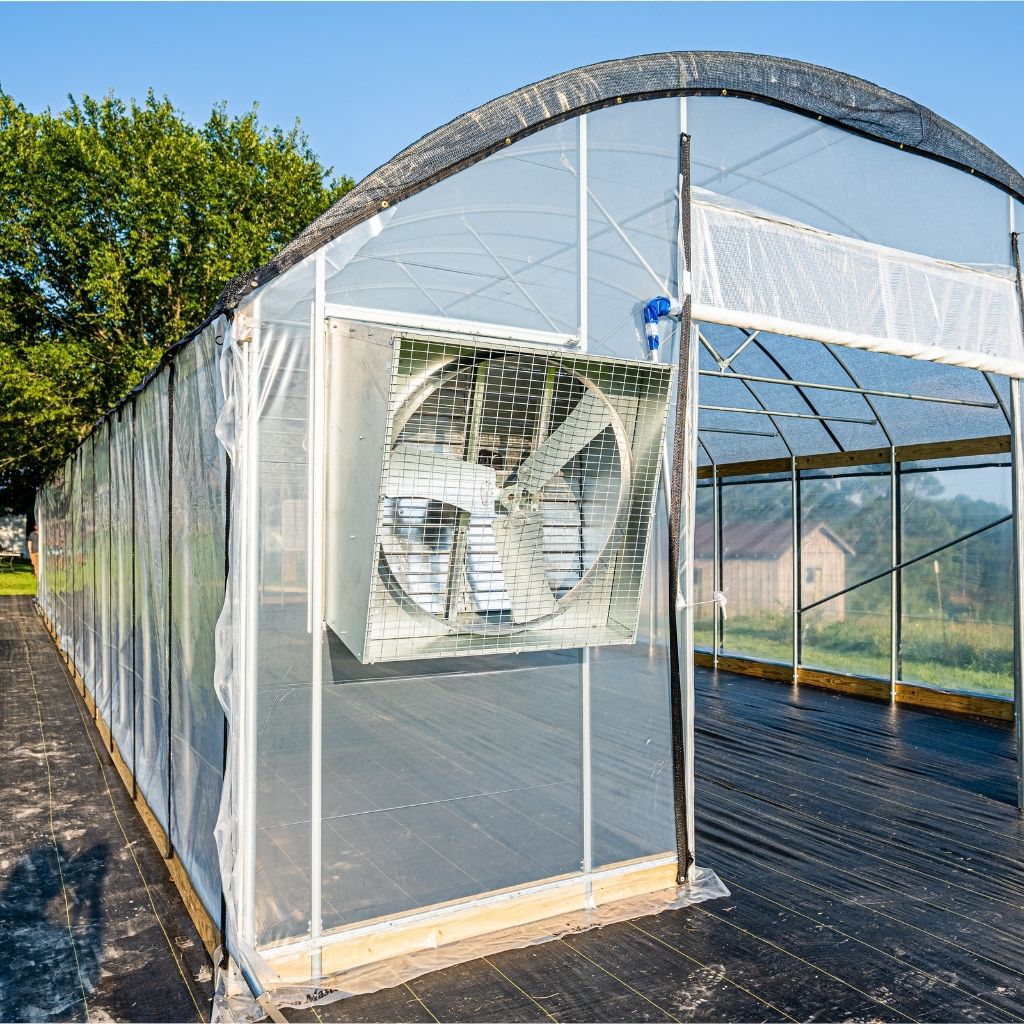
“48” Galvanized Steel Slant Wall Exhaust …” from growerssolution.com and used with no modifications.
While exhaust fans provide tremendous benefits, there are limited scenarios where you might be able to grow successfully without one. These exceptions apply primarily to very small operations with specific equipment choices. Understanding these niche situations helps you determine whether your setup truly qualifies for simplified ventilation.
Most commercial growers and serious hobbyists consider proper ventilation non-negotiable regardless of setup size because the risks of inadequate airflow far outweigh the modest cost savings. Even when growing in situations where minimal ventilation might work, many experienced cultivators still install proper exhaust systems as insurance against unexpected environmental challenges. For more insights on using exhaust fans effectively, you can refer to this guide on exhaust fans.
Before deciding to skip an exhaust fan, honestly assess your growing environment, equipment choices, and tolerance for risk. Many new growers underestimate ventilation needs only to face disappointing results that could have been easily prevented with proper airflow management.
- Growing extremely small plants or microgreens with minimal light requirements
- Using exclusively low-heat LED lighting in a small tent (under 2’x2′)
- Growing in an already well-ventilated room with consistent ideal temperature and humidity
- Growing cool-weather plants that prefer lower temperatures and can tolerate higher humidity
- Having alternative ventilation methods like windows or large vents directly beside the tent
Small Tent Setups with Low-Heat Lights
Tiny grow tents (2’x2′ or smaller) using exclusively modern LED lighting might function adequately with passive ventilation—meaning large mesh ports open on opposite sides to allow natural air movement. This minimal approach works best when growing just a few small plants and when the ambient room already maintains ideal temperature and humidity levels. The key factors making this possible are the limited heat output of quality LEDs and the small volume of air needing exchange.
Even in these minimal setups, most experienced growers still recommend at least a small inline duct fan to ensure consistent air exchange rather than relying entirely on passive movement. The modest investment in a basic 4″ exhaust fan provides significant insurance against environmental fluctuations that could otherwise compromise plant health.
When Natural Ventilation Is Sufficient
Important Note: Even when relying on natural ventilation, you must monitor environmental conditions closely. Keep a reliable thermometer/hygrometer inside your grow space and be prepared to upgrade to powered ventilation if conditions fall outside optimal ranges. What works in winter might fail completely during summer heat.
Grow tents placed in rooms with excellent natural airflow—such as those with ceiling fans, open windows creating cross-breezes, or central air conditioning—may sometimes function adequately with passive ventilation. This approach works best in moderate climates where room temperatures naturally stay within the ideal 70-85°F range and humidity remains below 60% consistently.
The key to successful passive ventilation is maximizing tent openings by keeping multiple large intake ports uncovered and potentially installing a small circulation fan inside the tent. This configuration helps equalize the internal tent environment with the surrounding room, essentially using your room’s existing ventilation to service the tent as well.
Remember that seasonal changes dramatically affect ventilation needs—what works perfectly in winter might prove completely inadequate during summer months. Always have a backup plan ready to implement if passive methods begin to fail as conditions change.
Sizing Your Exhaust Fan Correctly

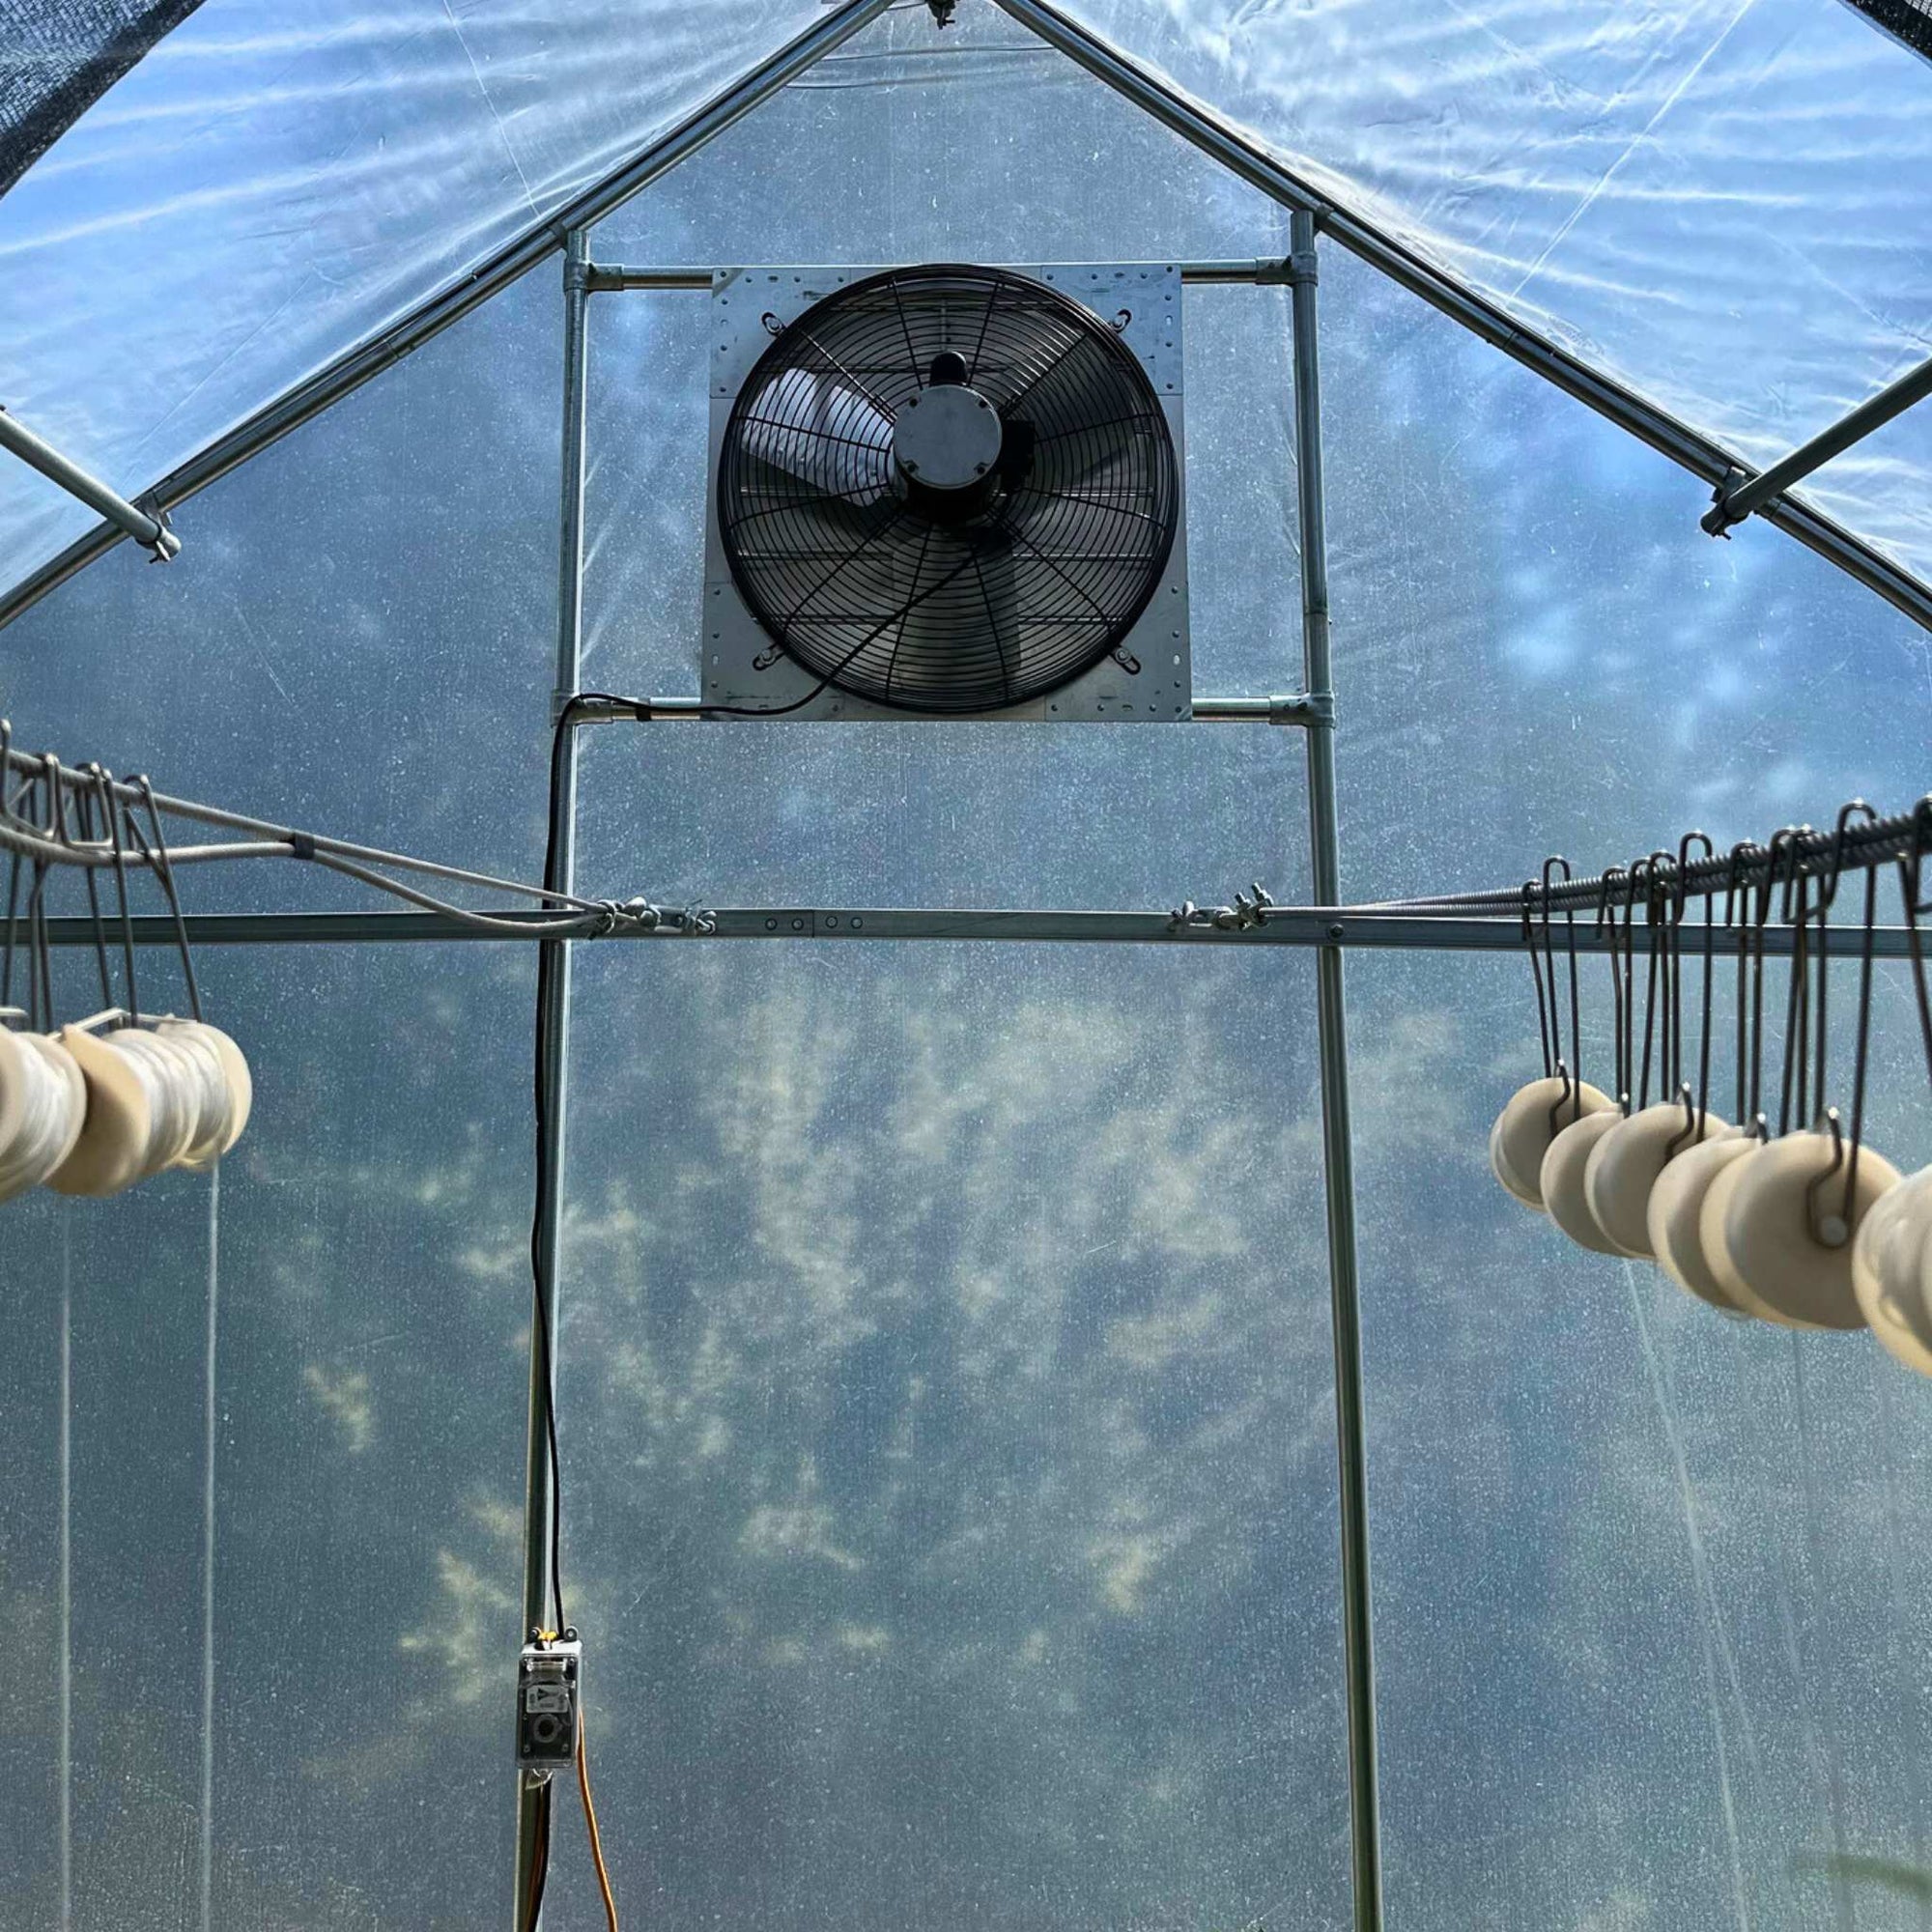
“11×7 Bellerose Greenhouse” from www.backyarddiscovery.com and used with no modifications.
The single most important technical consideration when selecting an exhaust fan is proper sizing. An undersized fan will struggle to maintain ideal conditions, while an oversized one may create excessive noise, increase electricity costs unnecessarily, and potentially create harmful rapid temperature fluctuations. The key to finding that perfect balance lies in understanding CFM calculations.
The CFM Calculation You Need to Know
CFM (Cubic Feet per Minute) measures how much air a fan can move. To determine the minimum CFM needed for your grow tent, calculate the tent’s volume in cubic feet (Length × Width × Height) and divide by the number of minutes you want to replace all the air. For optimal results, aim to replace all the air in your tent every 1-3 minutes. For example, a 4’×4’×6′ tent contains 96 cubic feet of air, requiring a minimum 32-96 CFM fan depending on your desired air exchange rate.
Most experienced growers recommend using the 1-minute exchange rate as your baseline, especially in warmer climates or when using high-intensity lighting. This provides a comfortable margin of safety to handle unexpected temperature spikes or humidity fluctuations. When in doubt, it’s generally better to have slightly more ventilation capacity than you need rather than struggling with insufficient airflow.
Environmental factors can significantly impact your CFM requirements. If your intake air is already warm or humid, you’ll need to exchange it more frequently to maintain ideal conditions. Similarly, grow rooms located in attics or other naturally hot spaces need more aggressive ventilation to combat ambient heat buildup.
Accounting for Carbon Filters and Ducting
The base CFM calculation is just your starting point. Carbon filters and ducting create resistance that reduces actual airflow, often dramatically. Industry standards suggest adding 25% to your CFM requirement when using a carbon filter and an additional 10-15% for each 90-degree bend in your ducting. Flexible ducting also reduces efficiency compared to rigid ducting—another factor to consider when sizing your system.
For example, if your basic calculation indicates you need a 100 CFM fan, but you’re adding a carbon filter and three bends in your ducting, you’ll actually need: 100 CFM + 25% (filter) + 30-45% (ducting) = 155-170 CFM fan. This adjusted figure provides a much more realistic picture of your actual ventilation needs. Many ventilation failures occur precisely because growers don’t account for these resistance factors when selecting equipment.
Adjustable Speed Controllers: A Must-Have Feature
Environmental conditions fluctuate throughout the day and across seasons, making adjustable fan speed an invaluable feature. Variable speed controllers allow you to increase airflow during peak heat periods (typically mid-afternoon) and reduce it during cooler periods to maintain consistent temperatures. This flexibility not only improves growing conditions but also reduces noise and extends fan life by allowing operation at lower speeds when maximum ventilation isn’t needed.
Modern controllers range from simple dial adjusters to sophisticated digital units with temperature and humidity sensors that automatically adjust fan speed to maintain target conditions. For most home growers, a basic rheostat controller provides an excellent balance of functionality and affordability. Whatever controller you choose, the ability to adjust airflow in response to changing conditions represents one of the most important upgrades you can make to your ventilation system.
Setting Up Your Exhaust Fan for Maximum Effectiveness
“Greenhouse Shutter Mount Exhaust Fans …” from www.bootstrapfarmer.com and used with no modifications.
Even the perfect fan will underperform if incorrectly installed. Optimal positioning and proper configuration make the difference between merely adequate ventilation and truly exceptional environmental control. A thoughtfully designed airflow system creates consistent conditions throughout your grow space rather than problematic hot spots or stagnant zones.
Best Positioning Inside Your Grow Tent
Heat rises, making the upper portion of your tent the natural collection point for hot air. Mount your exhaust fan at or near the top of your tent, ideally opposite from your main intake ports to encourage air movement across the entire growing space. Most grow tents include reinforced ports specifically designed for exhaust fan mounting, typically positioned at the top rear or top side of the tent. For more insights on optimizing your indoor garden, check out our guide on Asian pea shoots.
If using a carbon filter, position it inside the tent with the fan either pulling air through the filter (recommended) or pushing air into it. The pull configuration generally provides better efficiency and reduces the chance of fan damage from carbon dust. Keep ducting runs as short and straight as possible, minimizing bends that reduce airflow efficiency. Each 90-degree bend can reduce airflow by 10-15%, significantly impacting overall system performance.
Consider the direction of air movement across your plants. Ideally, fresh air should enter near the bottom of your tent, flow across your plants, and exit through the top. This natural convection pattern maximizes CO2 availability to plants while efficiently removing heat and humidity generated by your lighting system and plant transpiration.
Creating Negative Pressure for Odor Management
Proper grow tent ventilation should create slight negative pressure—where the tent walls pull inward slightly due to more air being exhausted than is passively entering. This negative pressure ensures that no air (and therefore no odors) escapes through seams or openings except through your carbon filter. To achieve this balance, your passive intake ports should provide about 75% of the area of your exhaust capacity.
You can visually confirm negative pressure by observing a slight inward bow of your tent walls during fan operation. If the walls bulge outward, you have positive pressure, which may allow unfiltered air to escape. If the walls severely collapse inward, your negative pressure is too extreme, potentially restricting airflow. Adjust intake openings until you achieve that ideal slight inward pull that indicates perfect negative pressure balance.
This negative pressure concept is especially important when odor control is a priority. Without it, aromatic molecules can escape through tiny openings in your tent, bypassing your filtration system entirely. Many growers struggling with odor issues are actually experiencing pressure management problems rather than filter failures.
Intake Considerations: Passive vs. Active
Most small to medium grow tents operate effectively with passive intake, where dedicated mesh-covered openings allow fresh air to be naturally drawn in as the exhaust fan removes air. This simple approach works well when your exhaust fan is correctly sized and the room containing your tent has good air quality. Position passive intakes low on the opposite side from your exhaust to maximize air movement across your grow space.
Larger setups or challenging environments may benefit from active intake—using a second fan to push fresh air into your tent. Active intake provides more precise control over airflow and can help overcome resistance when drawing air from another room or outside. If using active intake, your intake fan should operate at about 75-80% of your exhaust fan’s capacity to maintain that crucial negative pressure we discussed earlier.
The air quality of your intake source significantly impacts your results. Drawing fresh air from an already hot, humid, or dusty area creates unnecessary challenges. Consider where your fresh air comes from and, if necessary, implement pre-filtering or dehumidification before it enters your grow space. Some growers even create dedicated intake chambers where air is conditioned before entering the main grow area.
- Always use light-proof intake vents to prevent light leaks during dark periods
- Consider using insect screens on intake ports to prevent pest infiltration
- Position intakes away from dust sources to minimize particulate buildup
- Ensure intake air isn’t coming from high-humidity areas like bathrooms or kitchens
- Place intake ports where they won’t be blocked by equipment or furniture
Budget-Friendly Options That Still Get Results

“Budget Friendly Royalty-Free Images …” from www.shutterstock.com and used with no modifications.
Quality ventilation doesn’t necessarily require premium prices. The market offers numerous affordable options that provide reliable performance for home growers. The key is focusing on essential functionality rather than expensive bells and whistles. Many experienced growers actually prefer simpler, proven designs over complex cutting-edge options that might introduce unnecessary failure points.
Entry-Level Fans That Won’t Disappoint
Brands like VIVOSUN, AC Infinity, and iPower offer excellent entry-level inline fans that provide reliable performance without breaking the bank. The AC Infinity CLOUDLINE series, in particular, has earned a reputation for combining affordability with surprising quietness and efficiency. These budget-conscious options typically range from $30-100 depending on size and features, representing excellent value for essential equipment that directly impacts your growing success.
DIY Solutions for Smaller Setups
For very small grow tents or temporary setups, creative DIY options can provide adequate ventilation at minimal cost. Computer fans, particularly 120mm PC cooling fans, can be repurposed as small exhaust options for seedling tents or micro-grows. These typically move 50-100 CFM and can be powered by simple 12V adapters. While not suitable for serious growing, they provide a starting point for those testing the waters before investing in proper equipment.
Another budget approach combines bathroom exhaust fans with dryer vent ducting—materials readily available at any hardware store. Though less efficient than purpose-built horticultural fans, this improvised solution can adequately ventilate smaller grow spaces while you save for professional equipment. Remember that any DIY solution should still be properly sized using the CFM calculations discussed earlier.
Make the Right Choice for Your Growing Success
Proper ventilation remains one of the most influential yet frequently overlooked aspects of successful indoor growing. While lights and nutrients often receive more attention and budget allocation, experienced growers recognize that environmental control through proper airflow forms the foundation upon which all other growing factors depend. Even perfect genetics, lighting, and nutrients cannot overcome the limitations imposed by poor ventilation.
The modest investment in a quality exhaust system pays dividends through healthier plants, reduced pest and disease pressure, and ultimately more abundant harvests. Rather than viewing ventilation as an optional accessory, consider it essential infrastructure—the respiratory system of your indoor garden that enables everything else to function properly. Your plants will reward your attention to this crucial detail with vibrant growth and superior results that make all your other efforts worthwhile. For more expert advice on creating the perfect growing environment, GrowAce offers comprehensive resources and equipment designed specifically for serious indoor gardeners.
Frequently Asked Questions
After helping countless growers optimize their ventilation systems, I’ve encountered some common questions that arise as gardeners implement and fine-tune their exhaust setups. These practical considerations can make a significant difference in both the performance of your system and your overall growing experience.
Can I run my exhaust fan on a timer instead of 24/7?
While continuous operation provides the most consistent environment, running exhaust fans on a timer can be effective if implemented thoughtfully. Consider using a cycle timer that runs the fan for 15-30 minutes each hour during “lights-off” periods, while maintaining continuous operation during the more heat-intensive “lights-on” phase. This approach balances energy efficiency with environmental control. Just be sure to monitor humidity closely, as it can spike during fan-off periods, potentially creating conditions favorable for mold or mildew development.
Do I need a carbon filter with my exhaust fan?
Carbon filters are essential if odor control is important in your situation, but not strictly necessary for basic ventilation functionality. Many plants produce minimal odor, making carbon filtration optional for vegetable gardens or non-aromatic ornamentals. However, even with less fragrant plants, carbon filters provide the additional benefit of capturing airborne spores and some pathogens, potentially reducing disease pressure in your growing environment.
How loud are grow tent exhaust fans?
Noise levels vary significantly between models and operating speeds. Budget fans typically produce 50-70 decibels (similar to a conversation or dishwasher), while premium models with acoustic insulation might operate at just 30-40 decibels (library whisper level). Fan noise can be further reduced by using rubber mounting brackets that absorb vibration, placing the fan on foam padding, or using a larger fan running at lower speeds to move the same air volume.
The location of your exhaust fan also significantly impacts perceived noise. Fans mounted directly on tent poles transmit vibration throughout the structure, amplifying sound. Consider suspended mounting using bungee cords or rubber hangers to isolate vibration. Similarly, rigid metal ducting transmits and sometimes amplifies fan noise, while insulated flexible ducting can dampen it considerably. For more information on optimizing your indoor garden, check out our guide on red and blue LED grow lights.
If noise concerns are paramount, consider investing in a higher-quality fan with built-in speed control. Running a larger, better-constructed fan at lower speeds often produces less noise than a smaller, cheaper fan working at maximum capacity to achieve the same airflow. For more insights, you might want to explore how to use an exhaust fan effectively.
Will an exhaust fan increase my electricity bill significantly?
Most standard grow tent exhaust fans consume between 15-50 watts depending on size and speed—comparable to a small household fan. Operating continuously, a 25-watt fan costs approximately $2-5 per month at average electricity rates. This modest energy usage represents a small fraction of your overall growing costs, especially compared to lighting, which typically consumes 10-20 times more electricity than ventilation equipment.
The energy efficiency investment that offers the greatest return is usually a variable speed controller. By allowing your fan to run at lower speeds during cooler periods, you not only reduce direct energy consumption but also extend fan life and reduce noise. Many growers find their fans can operate at 50-70% capacity during cooler parts of the day or night, creating significant energy savings over time.
Can I use a bathroom exhaust fan for my grow tent?
Bathroom exhaust fans are designed for intermittent use and typically move significantly less air than their CFM ratings suggest when working against any resistance. While they might suffice for very small grow spaces with minimal heat loads, they generally lack the power and durability needed for horticultural applications. They also tend to be noisier and less energy-efficient than purpose-designed inline fans.
If budget constraints make a proper inline fan temporarily impossible, a bathroom fan can serve as a stopgap solution for small tents using exclusively LED lighting. Mount it securely and ensure it’s rated for continuous operation, as many bathroom fans are designed for only short-duration use. Plan to upgrade to a proper inline fan as soon as possible, particularly if you notice temperature or humidity control issues.